7 Steps To 3D Food Scanning

7 Steps to 3D Food Scanning

Augmented Reality for the restaurant and bakery industries is easier then ever!

TLDR; to long, didn't read

You can definitely DIY this yourself today! Generally, the easier it is to do from a “level of comfort with technology” standpoint, the more expensive it will be. The more time you put into learning the software and techniques, the cheaper it will be…isn’t that always the answer? 

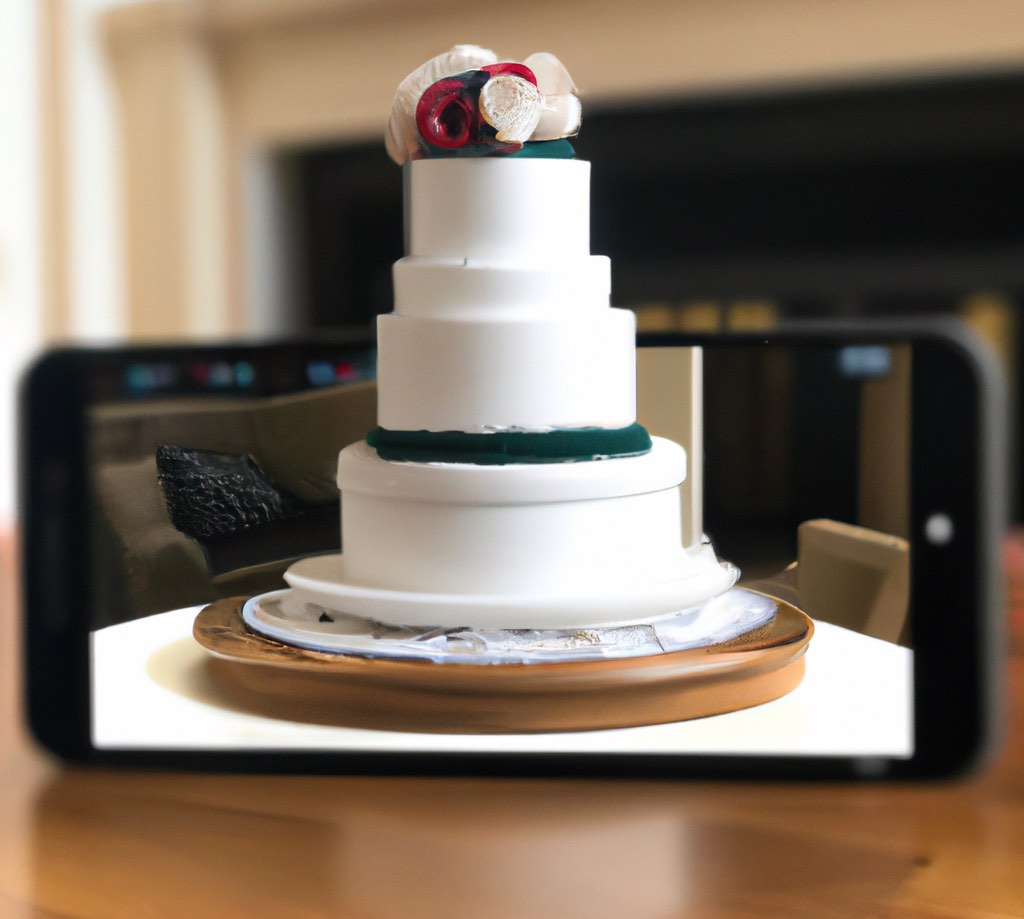
The best part about this is that your customers don’t need any special software to view these your creations in their own homes. As long as they have a smartphone made in the last couple of years, you’re all set!

So, if this is your first experience with augmented reality welcome and…prepare to have your mind blown! 🤯

Step 1: Download an app

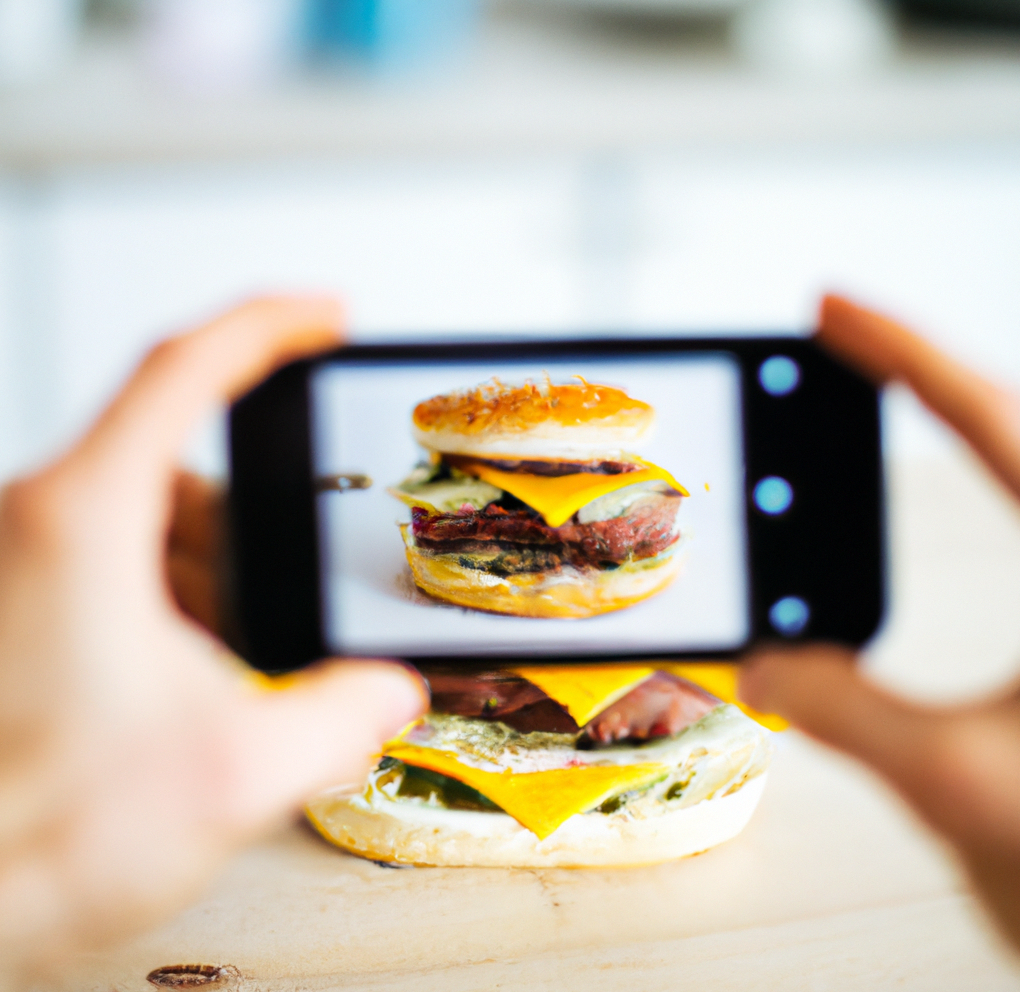
There are now a lot have great apps out there for both Android and iPhone users.

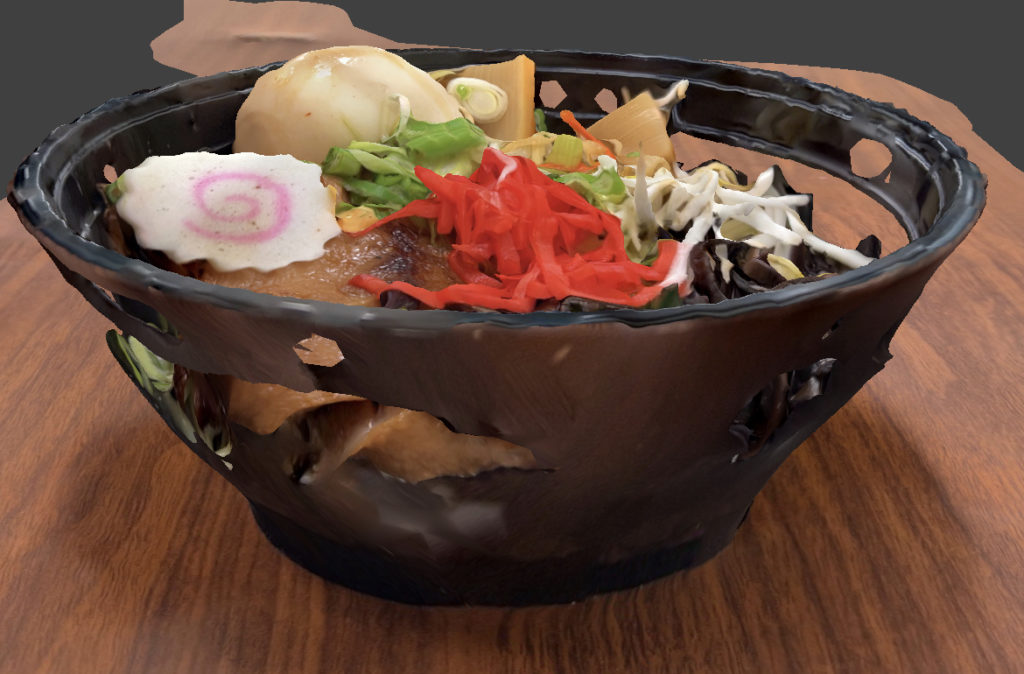
To take 1 step back, there are 3 (maybe more) typical types of scans you’ll see when starting your research. Luckily we only need to understand one type for small dishes and up to big cakes.

    1. Arial: Think, drones scanning a huge area from overhead for mapping programs
    2. Spatial: Think of an entire room or the front of a house or building. These are also used with self-driving cars.
    3. Close-Range: Sweet spot (pun intended) for all smaller objects including cakes!

Many apps can do all three but look out for the ones that are only meant for drones. So, when choosing an app to scan your cakes, be sure that it does close range.

There are many options out there, some paid, some totally free, while others allow you to take a certain number of scans per day. Experiment with a few to find the option that works best for you. They’re always coming out with new and better apps, (including a food-specific one from us soon 🤩) so be sure to get the best available at the time you’re reading this. 

We would recommend first doing a search on Google for, “Augmented Reality [iPhone, Android] app” before using the search in the App Store or Google Play. This will give you a better idea of what people are talking about outside your phone’s ecosystem. It may even bring up some new and better options for you that are just not popular enough yet in the app stores.

Step 2: Scan the Dish

Getting a good augmented reality food scan of your dish is key to doing less cleanup work of your final image afterward. Here are some tips for getting the best scans:

    1. Move slowly. As you move your phone around the dish, take it slow and capture EVERY angle. The more detail the better.
    2. Increase photo quality.  Use the highest resolution setting available on your phone’s camera when capturing the object.
    3. Lights! Use additional lighting to illuminate the object while scanning. You can use a ring light or a lamp to reduce shadows and improve the overall quality of the scan.
    4. Keep it steady. In some instances, it might be good to use a tripod or other stabilizing device to keep the iPhone steady while capturing the object. This can help you reduce camera shake and blur.
    5. Bonus Tip: Set the dish on a round table and make sure there is nothing you can trip on while walking around it. You’d figure this one out real quick on your own but it’s better to start this way 😉

Step 3: Make Your Images Look Pretty

Most of the apps you’ll find already take all the scans you’ve captured and turn them into a 3D/AR image. But many of them need a little editing before they’re ready to put in front of your customers.

TECH ALERT: this section gets a bit more technical and may require more of a time investment to learn how to fix the images.

When scanning a cake or small object, you may not capture all the information needed to have a clean-looking AR image.

AR scan with missing data
Notice the "missing data" AKA holes in this bowl as well as some wavy textures in the egg and bowl

Use specialized software to post-process the scan and clean up any artifacts or errors. This can include removing noise, smoothing surfaces, and filling in missing data.

This is normally due to a scan that didn’t capture enough images or data from all directions. In even with the best scans, we’ve found there are still some issues that come up.

There are several software options for fixing your errors in augmented reality scans. Some lean a bit more heavily on fixing scans from Arial or Spatial scans so be sure to also take that into consideration.

Again, some are free and some are paid but these are the best on the market now. You should try a few and choose the option you’re most comfortable with.

    1. RealityCapture: A photogrammetry software that can be used to process and edit 3D scans.

    2. Autodesk ReCap Pro: A tool for creating and editing 3D models from scans.

    3. Agisoft Metashape: A photogrammetry software that can be used to process, edit, and analyze 3D scans.

    4. MeshLab: A tool for editing and processing 3D meshes, which can be used to fix errors in augmented reality scans.

    5. Blender: One of the best free and open-source 3D creation suites on the market.

It’s important to note that the best software for your project will depend on your specific needs and the type of errors you need to fix. This list is growing and may change over time.

Step 4: Export the 3D files

There are a few different file formats you can use to export augmented reality (AR) content for viewing on iPhone and Android devices.

This is important because we won’t need build a special app to view this on your client’s smartphone. We generally recommend USDZ for iPhones and GLB for Androids. Here are descriptions of some of the most popular formats:

    • USDZ: This is a file format developed by Apple that is optimized for AR experiences on iOS. USDZ files can be viewed using the built-in AR Quick Look feature on iPhones and iPads.

    • GLB: This is a file format that uses the glTF standard and is supported by many 3D modeling and animation software tools. GLB files can be viewed using various AR apps on both iOS and Android devices.

    • FBX: This is a file format developed by Autodesk that is commonly used to transfer 3D assets between different software programs. FBX files can be converted to USDZ or GLB formats for use in AR experiences.

*If using an app to display the images, it is recommended to check the file format which is supported by the app you want to use before exporting.

Step 5: Hosting your Augmented Reality files

Similar to your website and the photo files you have out there, you’ll need to host your AR files as well. This may be as simple as putting these AR files in the same place you already put your cake photos.

But if you plan on promoting this new 3D experience, be prepared to have a lot more people visiting your site. Clients LOVE sharing this type of thing with friends so you may have more people than you thought.

This extra traffic may not be so good for the rest of your business, especially if you use your website for online sales and contact information.

You might want to keep your AR files separate from your website and host them on a cloud service. That allows you to scale up and down depending on usage and not disrupt your normal web traffic.

These cloud services can be great solutions, but they do require some level of technical expertise to set up and manage. If you’re not comfortable with managing virtual machines, storage, and networking, there are a few IaaS options that may be more suitable for you:

    1. Managed services: Some providers, such as AWS and Azure, offer managed services that take care of the underlying infrastructure for you. For example, AWS Elastic Beanstalk allows you to easily deploy and run web applications and services, while Azure App Service provides a platform for building, deploying, and scaling web apps.

    2. Hosting providers: There are also hosting providers that offer IaaS services specifically tailored for non-technical users. These providers typically offer easy-to-use control panels, automatic backups, and support to help you get started.

    3. Website builders: Website builders like Wix, Weebly, and Squarespace, provide a drag-and-drop interface, allowing you to create a website without needing to know how to code. They also offer hosting as part of their service.

It’s important to keep in mind that while these options may be more accessible for non-technical users, they may also have limitations in terms of customization and scalability. Therefore, it’s important to evaluate each option based on your specific needs and budget.

Step 6: Allowing Your Customers To View

This next step is a bit tricky if you don’t have any coding skills. The reason for this is that you need to display the proper file depending on your customer’s smartphone.

As mentioned above, if your customer has an iPhone, you need to show them the USDZ file. If they have an Android, you’ll need to show the GLB file.

There are coding methods to detect the type of phone a person has when they visit a page, then show them the proper link. This is a bit advanced for this article and we at Grumbles will have an easy solution for this soon. 

But for now, you may need to show both links and just have the user choose the proper one based on their smartphone. Not the most professional but not the end of the world either.

One gotcha here is that not all smartphones, at the time of writing this article, are capable of displaying AR images. This could turn off and frustrate some customers.

For now, without advanced coding, the best option would be to also display a 2D image of the cake. Then you can add some text below it mentioning that 3D is not currently available for all smartphone devices. 

Step 7: Spread the Word!

There are already a lot of articles written on this subject so we won’t rewrite the web but be sure to check back frequently as we’re always keeping up on the latest advancement in sharing your AR creations with more targeted customers in your area.

Conclusion

3D augmented reality food photos are quickly becoming the new norm in the food photography industry. Wait, new norm?? And I’m just hearing about it now?

That’s right and chances are your customers haven’t heard too much about this either which gives you the “first-mover” advantage against your local competition. 

AR provides a unique and interactive way for bakers, food creators, chefs, and restaurants to showcase their dishes in a more engaging and realistic way.

We’re just scratching the surface of what’s possible with AR in the bakery industry and it’s an exciting road ahead.

Don’t just sit there! Do something today that brings you one step closer to getting your Augmented Reality cakes in front of more potential customers and filling your baking schedules!

Other materials

Not convinced AR is for you? Check out our other articles to research the 5 Benefits of your cakes in 3D.

5 Benefits Of Bakery Cakes In 3D​

Seeing an augmented reality cake on your kitchen table

5 Benefits Of Bakery Cakes In 3D

Now customers can truly appreciate the artistry and craftsmanship

Own a bakery? Aspiring Pastry Chef looking to stand out? Design custom cakes that future customers just need to see to believe? Trying to get your wedding cakes “in front” of as my fiancé’s as possible? This one’s for you!

1. Does 2D really do me justice?

Augmented reality (AR) technology has revolutionized the way we showcase our artistic creations. Instead of traditional flat 2D photos, AR allows bakers to display their cakes in a more realistic and interactive way.

Imagine your next customer’s face when they can simply point their smartphones at their table and actually see the size, shape, and details of your cakes in 3D right in their dining room!

With AR, you can create virtual images of your cakes that can be viewed from all angles, giving customers a better understanding of the design and overall presentation of the cake. 

2. Built-in shareability

Imagine the response you’ll get when your customers start sharing that same 3D experience with their friends and family. This is your word-of-mouth marketing on a silver platter…or should we say cake stand 🎂

There are no guarantees customers will be beating down your door right away but it’s a good practice that before launching you make sure your website’s contact form is still working and all the places you have your phone number are correct.  

These virtual images can be shared on social media, websites, and digital in-store displays, making it easier to reach a wider local audience by giving your best customers an excuse to talk about you.

The use of AR in cake design allows you to showcase your skills in a more dynamic and engaging way, making it easier for customers to appreciate the artistry and craftsmanship that goes into creating those beautiful cakes.

3. Your cakes in your pocket

SCENE: A dinner party at a friend’s house.

FRIEND’S FRIEND: You make custom wedding cakes?!? Cool, can you show me one? 

YOU: I’ll do ya one better 😉

Seeing an augmented reality cake on your kitchen table

4. Saves Time

For you and for them. 

The pandemic has brought forth a whole new mindset and the current consumer. Online shopping has become the new normal and more people are finding creative ways of getting their products online.

This shouldn’t take the place of a consultation with an actual human.  Many customers still need the reassuring comfort that there are actual caring people on the other side of this transaction.

But it’s now on its way to swapping many in-person consultations in phone calls, and phone calls to emails saving you time as customers’ comfort level with you increases.

5. Customer's do their research

Baking professionals familiar with the “customer buying/decision journey” know, the majority of their customers begin their search digitally. With the pandemic, these numbers only grew stronger.

Often customers are deciding between 2 or more bakeries online. The standouts move to the “next phase” of the buyer’s journey (a phone call, an online inquiry form, an in-store visit, etc.) while the others are forgotten.

And with 77% of shoppers using a mobile device to search for products (Source: Salsify), AR/3D puts the power of online “WOW” in your potential customers’ pockets. 

The Future is Now

3D augmented reality food photos are quickly becoming the new norm in the food photography industry. Wait, new norm?? And I’m just hearing about it now?

That’s right and chances are your customers and competition haven’t heard too much about this either which gives you the “first-mover” advantage to really stand out in your area. 

Enterprising bakers can do this now and even further savviness will get you there on a budget or next to nothing!

Don’t just sit there! Do something today that brings you one step closer to getting your Augmented Reality cakes in front of more potential customers and filling your baking schedules!

Wanna get started and not sure how? Check out our other post: 7 Steps to 3D Food Scanning and see how you can get your cake in front of my customers yourself!